Tom Clancy’s The Division 2
The heavy military mission inDivision 2is by far the Dark Hours raid . As of today , the hardest difficultness is Normal with harder stratum to get along with the Warlords of New York expansion come in March . This raid still has newer actor seek to beat it to get a crack at the famous Eagle Bearer . If you ’re Modern or even a hardened vet , we ’ll make certain there ’s something useful for anyone trying to get the foray completed .
Related : class 2 : Everything You want for The Warlords of New York
We ’ll talk a good deal about the auto-mechanic of the foray more than the gear needed for the attempts and the reason for this is because the broker spirit level cap is fit up to level 40 and with it comes easily and stronger cogwheel . Stats such as Damage to Elites will no longer survive and for the mo , they are critical to completing the raid but wo n’t be a broker after March 3rd . Concerning gear , the most significant thing to screw is to have a anatomy that has a very in high spirits DPS . An agent might find they do already , but no matter what attainment degree or playtime reached , there are always improvement to gear that can be made . The intact raid is a DPS check so if you ’re having trouble , get more DPS , simple as that . With that , on to the walkthrough .

Boomer Fight in Division 2
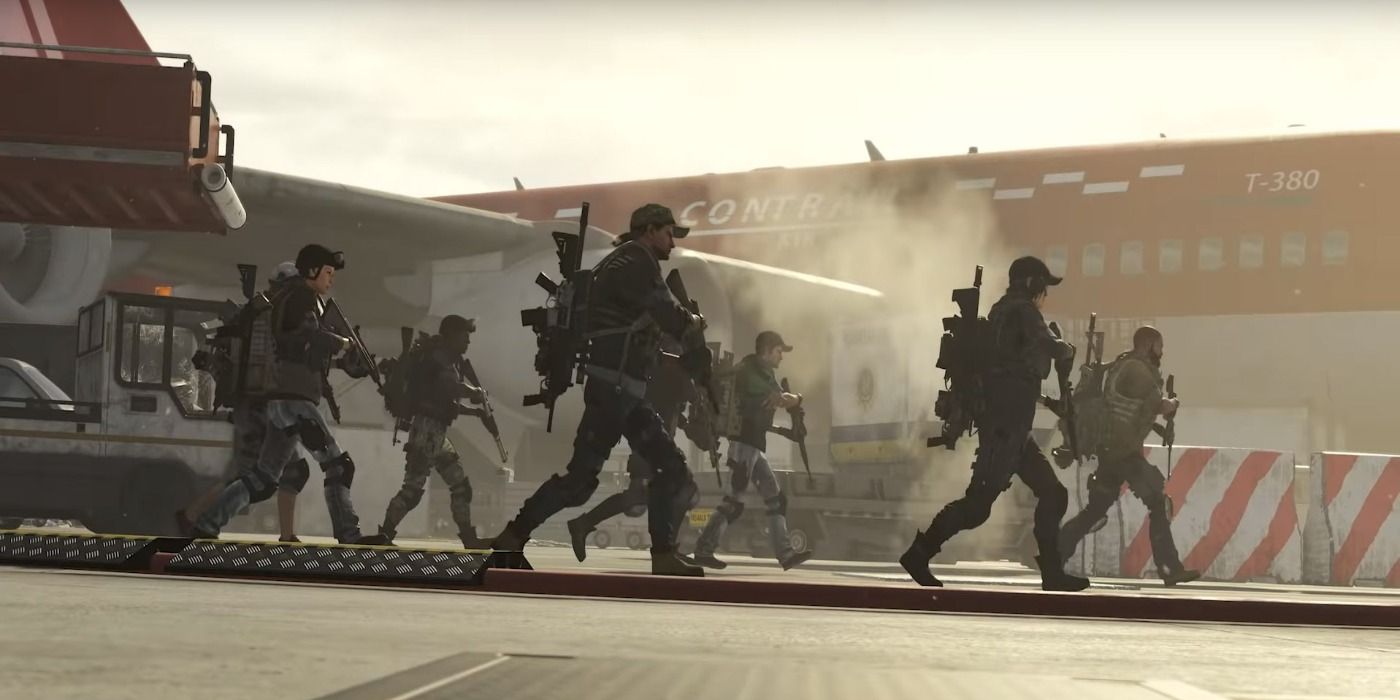
From the beginning of Dark Hours , the agents will campaign down a burrow that leads to an upper level which is the airport tarmac . One this area is clear of opposition , the door at the far final stage will afford and upon move through , this is the area the raid team will fight Boomer . There are multiple facet to this field that need to be respected . In the Normal modal value for this maraud , there are four node that have a blue orbit around them that once enemies enter the field of force , they become resistant to any damage . These nodes can be taken down by the Turrets are doors 41 and 45 . Do not shoot them down just yet . This is a sentence to ensure that all preparations are in parliamentary procedure before beginning and also a great meter to strategize .
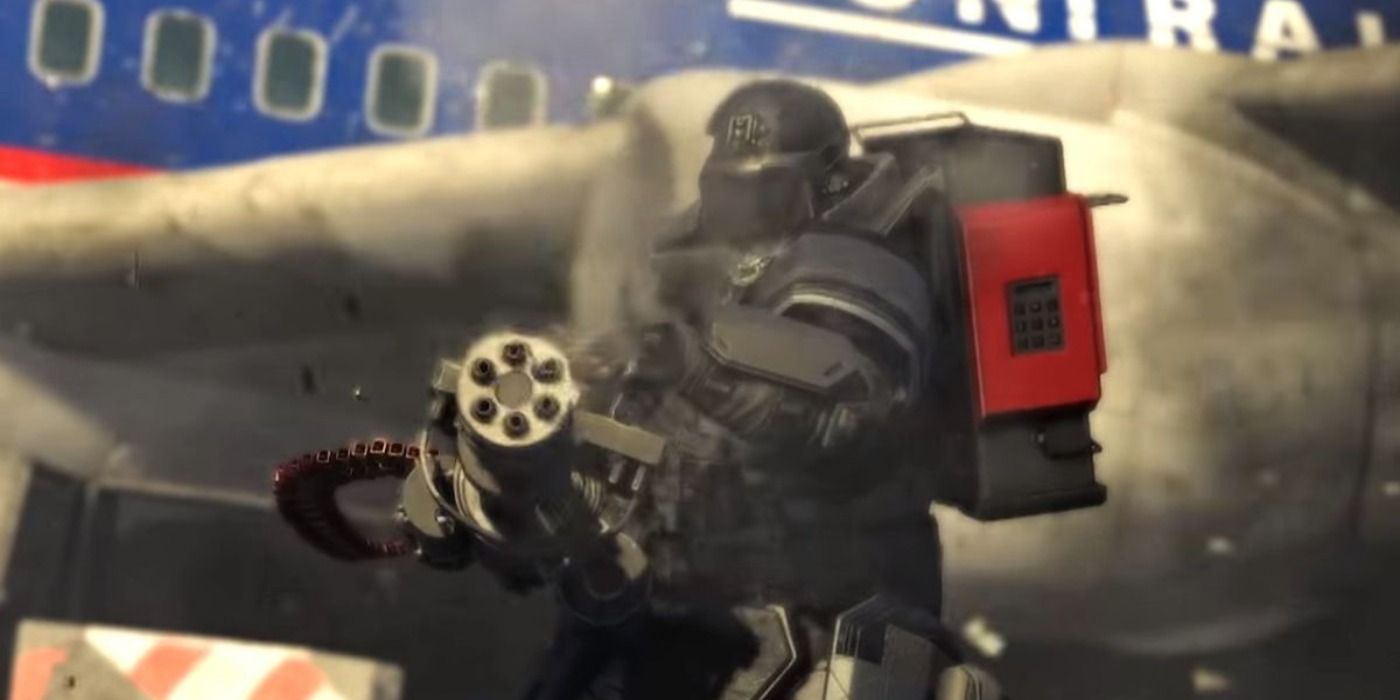
There are many ways to do this combat , just like the next fights as well , but we ’ll focus on one turn up method that has been successful . A big key to this fight is to not get overwhelmed by the enemies roam around the way . Have dedicated people at each turret , one agentive role protect those people at the turret , two agents at the laptops in the middle of the room , one agent down any enemies as quickly as possible and finally , the last agent grabbing Boomer ’s care to be capable to catch him and bring him to either turret . With character delegate , the next " need to know " piece of entropy is once the nodes go down and the event begins , elucidate the room of enemies and Boomer will pop out of the metal gate between the burger shop and the doughnut shop . The agent creditworthy to grab his attention will bug out arouse at him to make certain that a red - centre is on top of him . This designates who Boomer will target and keep up . At this spot , this agent will bestow him to the gun enclosure at doorway 41 and make it so Boomer has his back to the turret . Here , the squad is looking to get Boomer to become flounder . To do this , his backpack must be hit and it can only be done by the turret on 41 and 45 . The first attack needs to be at turret 41 . Once the factor on 41 has put Boomer to his stifle , all agents require to make certain they are attacking Boomer ’s oral sex . Put as much scathe as possible on him and once enough has been done he will rise and persist in point someone with the red - eye , sooner the original someone who was doing this line . While this is happen , the entire team demand to keep the area readable of enemies so go on plugging away .
before long after Boomer gets dropped the first sentence , there will be an alarm that will sound out . This signifies that the nodes will uprise back up unless the right laptop(s ) are press . If they are not press , the nodes will kill back up , enemies will become invulnerable making this competitiveness much harder . To be intimate which laptop computer need to be spark off , there are television screens on the four pillars in the heart area which show which one(s ) need to be agitate . During this time as well , Boomer ’s thorax piece will start to heal him . The chest composition must be shoot by anyone in range to ruin it when it turn green . The agent who gets Boomer ’s tending require to bring him to turret 45 and the process repeats . Destroy his back pack , then pip him in the head .
This fight run by going in a circular motion going from turret 41 to 45 and back around again . With this in mind , the full team should come after this circular pattern , killing other enemies on the way . As the conflict pass on , more information processing system need to be pushed to keep the leaf node down . A large cay to this fight is communication . agent need to permit everyone else in the group know when Boomer is almost quick to go down to his knees , which laptops demand to be agitate and when to shoot his chest among other items . The more communicating is had , the better this fight goes . Once he ’s down , time to move on to the next fight .
Weasel Fight in Division 2
The Weasel fight is not as complicated as the Boomer conflict but there are still important detail to ante up attention to during this encounter . This fight has two section to it , the A and B side of meat . It ’s loose enough to split the raid into grouping of four where each squad should have an even amount of DPS between them . The reason being is that his deputy Ricochet and Dizzy arrive out to meet the teams first . Ricochet will be on the B - side and Dizzy on the A - side .
An important fact of this fight is once the teams are on their respective side , they will be split up by a planing machine . This plane has three panels in the heart of each side and these are to keep a wellness depleting gas pedal from kill all federal agent in the raid . To do this , a dedicated agent must be set for each set of panel on each side . Once the panel on a given side is lit , the side that has it light up needs to let the other broker know that the dialog box the other motivation to press to release off the gasolene . Both sides want to press the same control board at the same time . For example , we ’ll say the panel at the front of the woodworking plane is lit on the A - side . The agent on the A - side will call out the front instrument panel is lit and both the A and B agents man the panels will agitate them at the same time . This inactivate the natural gas and save the team .
The gas also has a dual effect where if the flatulency is orange , damage can be done to enemies and if it ’s imperial , it ’s a time to mend as very diminished amounts of damage can be done . The gun result only sincerely take effect when Weasel comes out and to do this , Dizzy and Ricochet necessitate to cash in one’s chips at almost the same time . If one stays alive and the other dies , Ricochet will still come out but the battle incur exponentially more unmanageable . Repeat the process of turning off the gaseous state and attacking when the orange flatulence is out and this fight is over in no metre .
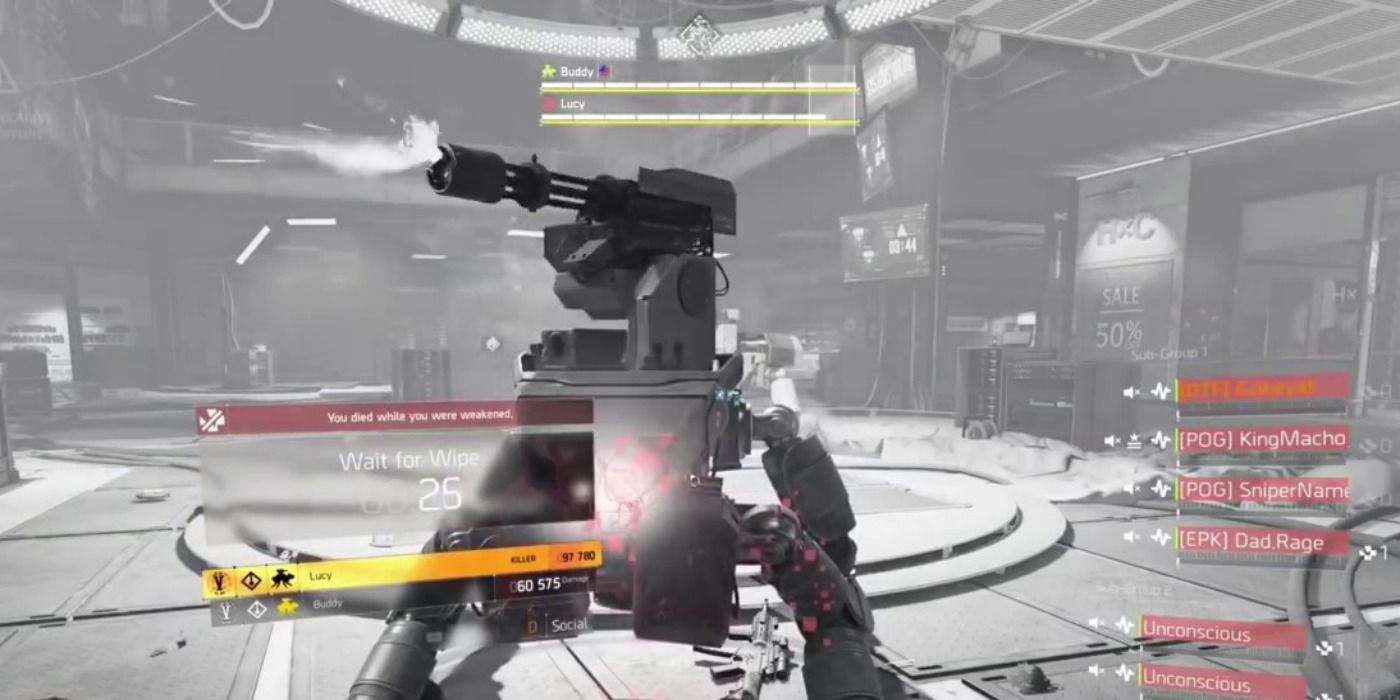
Buddy And Lucy in Division 2
Just like Dizzy and Ricochet , Buddy and Lucy is a battle that has a peck to do with timing . The fundamental part of this scrap is their separate sprightliness bars . At the starting signal of the fight , there ’s a white semi - transparent box on the far correct side of the life bars . What needs to be done is to damage each Robo - pawl enough that the box last out white and does n’t wrench red . When it turns red , that means that one of the dogs has too much , or not enough , damage on and they will rush to the marrow of the way to heal each other . Each dog has a couple of attacks that need to be either avoided or forestall to be successful .
For Lucy , she has a 360 - degree gun fire that will kill any squad members in one smasher . This attempt will protrude when Lucy hunches down . Along with this visual cue , there is an audio one as well where an breeze compression sound will alert the agentive role to this flack . It can only be avoided so when either of these two clue happens , agents on the Lucy side want to permit everyone in the raid acknowledge that the attack is come and to take cover or danger end . She will also launch mini - missile which do a ton of damage so using cover is a unassailable ally against her .
Buddy has quester mines and a poisonous gas swarm that can put a distress on federal agent if they ’re not ready . sidekick hunches down like Lucy when he wants to give up his seeker mine . This is a great chance to shoot and destroy the mines . Most significantly , Buddy has an overheal which set off after Lucy does her 360 - degree gas pedal tone-beginning . This is when loads of damage needs to be done to keep the two life bar near together .
This competitiveness should also be split into two groups with more equipment casualty going to Buddy ’s side as the overheal take to be mitigated . Two teams of four or having three broker on Lucy only can work as well . The fighting is triggered by hitting a push at the far logic gate from the entree . The two dogs will go to the centre of the room and one matter to compensate attention to is from the marrow of the room there are two laptops . One touch Lucy and the other Buddy where the soul drive the clit on the laptop computer set out an eye that taunts one of the dogs .
It ’s important to wreak Buddy to the blue side and Lucy to the ruddy side . Great cover areas on the red side are the rejoinder behind the bar or inside the red shop . For Buddy , the practiced cover is to go inside the shop on the blue side because when Lucy does her 360 attacks , the middle pillar can deflect her shots and the squad on the Buddy side can continue assail Buddy if necessary . This is why each frank gets pulled to one side , it ’s really to go on the attack on pal due to the overheal . Once both frankfurter are all in , it ’s on to Razorback .
Razorback Fight in Division 2
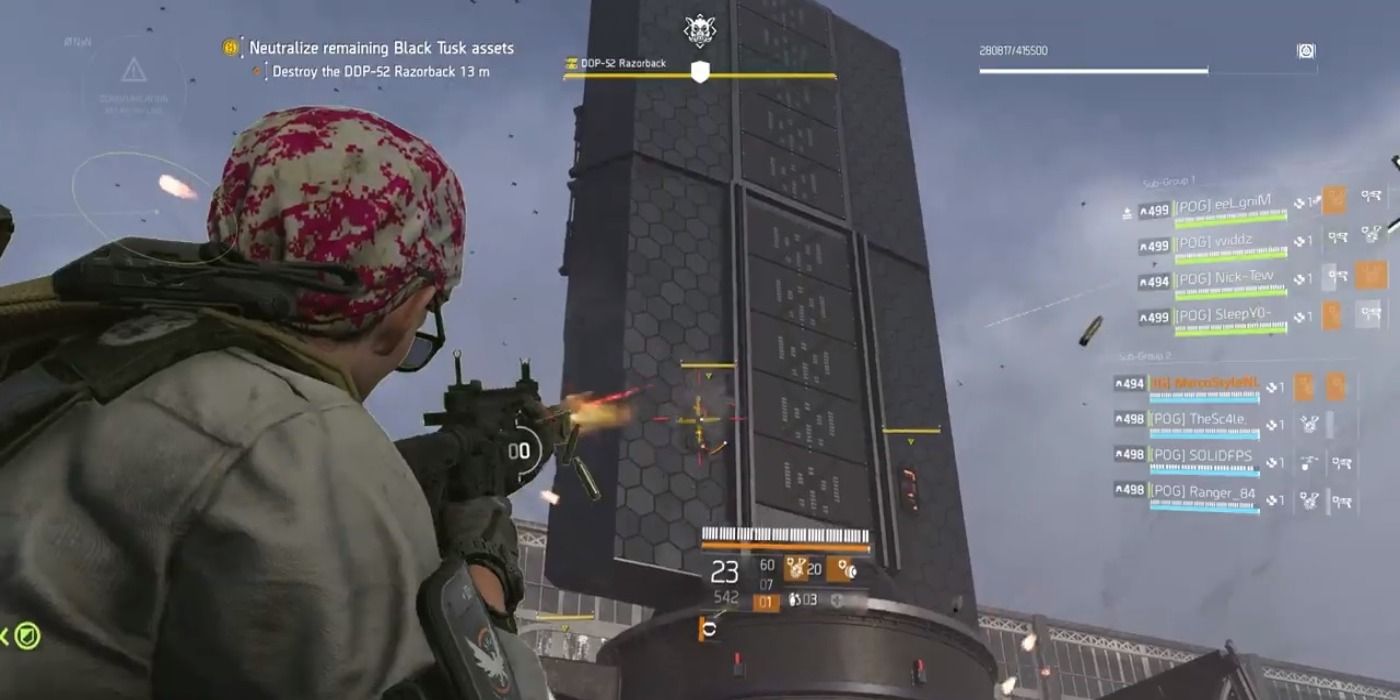
The Razorback fight is a multi - stage conflict . It ’s similar to Boomer in so much as there are multiple elements to keep track of at the same time . Upon overlook into the sphere , the squad is in an inst firefight with some elite enemies . Once they are dispatched , this is a fourth dimension to limit up position on Razorback . The arena is split into four quadrant and two agent demand to be in each quarter-circle , one for the generator and another one to take out foe . Each quarter-circle is label by a turn that can be seen around the area in the middle section where the actual Razorback opposition is . The tonality to this fight is that each quadrant has a author .
The generator are the first step to opening up Razorback to allow damage to be done . The elbow room they are used is that one agent from each quadrant needs to startle in the white dotted circle surrounding the author at the same clock time . Communication is vital at this point to get in successfully as any misstep can cause rockets to hit the generators if the percentages are off by too much . A part will appear above the generators up to 100 % and once all generator have slay 100 % at the same time an opening night will appear at the front and back of Razorback . These openings will have a red chromaticity to them and want to be spread out up with a Special Weapon Crossbow Bolt . Using a Bolt destroys the board in one shot which allows enough room to throw a Concussion grenade in the scuttle . Once a grenade is put in the front and back initiative , Razorback ’s side panels will open . These side panels are found on both the back and the front of Razorback . It ’s recommend to round the front panel first as the back panels are quicker to destroy . Once the left and right panels on the front of Razorback are destroy , the actual main tower will open up and damage can ultimately be deal to Razorback ’s health up to 25 % at a time . This process require to be done twice on the front and twice on the back .
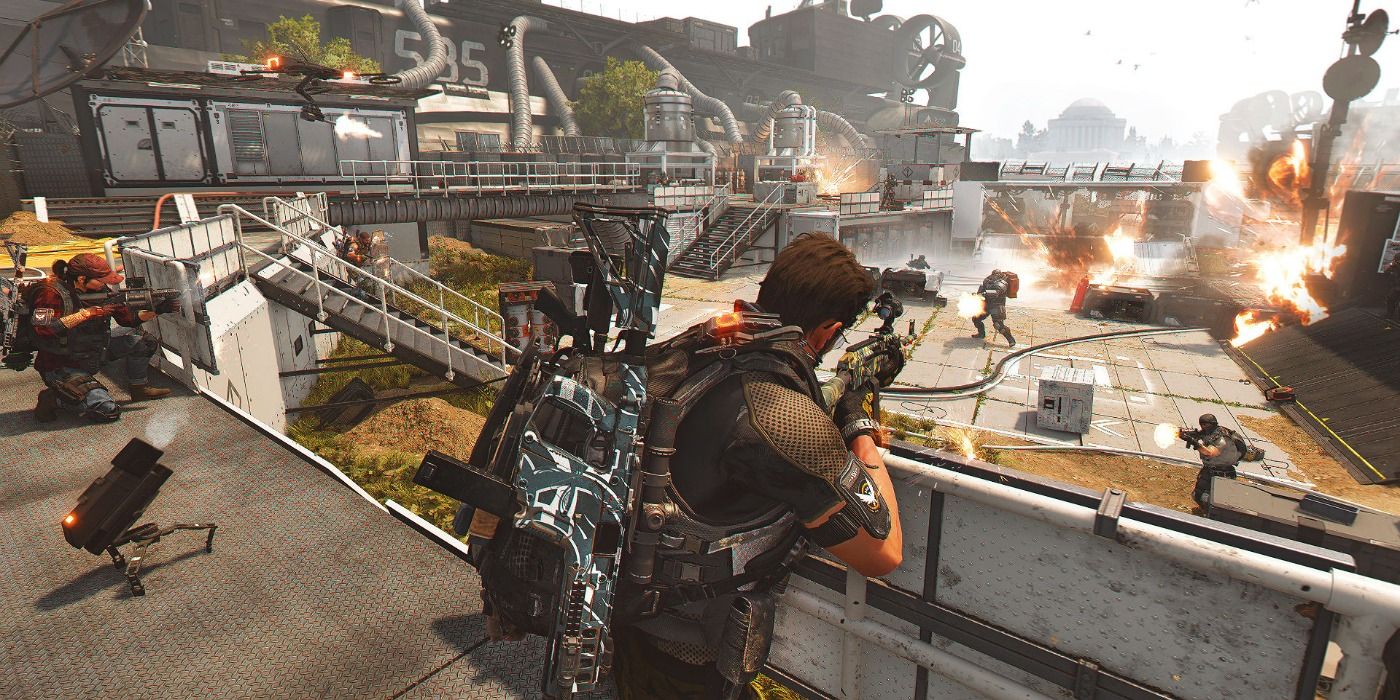
While this process is occurring there are batch of enemy coming out from each quadrant along with a mini Boomer who set about to reach a Eruca sativa launcher post capable of kill everyone if he superintend to strike the button on the launcher . The quickest way to vote out these boomer is to photograph them in the butt where there is no armor . permit ’s not forget there are also Robo - pawl primed to bolt down the team from one quarter-circle to the other .
Once Razorback ’s health is eat up , each quarter-circle has to have those same mini launchers become a galvanic pile of junk . Both agent need to race to their several launchers and shoot the blinking red panel when it appears . Not destroying it fast enough will cause the launcher to inject their missiles and belt down everyone . Once all four are destroyed , it ’s time to keep as the raid is now make out and with enough raid keys , a chance for the Eagle Bearer Exotic Assault Rifle .
More : Division 2 : Upgrade Firewall Specialization ( The Quick & Easy Way )
Division 2is available for Playstation 4 , Xbox One and PC .