Luigi’s Mansion
Luigi ’s Mansion 3switches its focal point between fighting and puzzle - resolution , with adequate attention being given to both - but puzzle out each puzzle can be quite hard at times . The developer ofLuigi ’s Mansion 3promised more puzzlesand they definitely experience up to their word , as the Last Resort Hotel could easily have been built by the Umbrella Corporation , due to the sheer number of brain teasers that need to be solve to hit the next area of the game .
Luigi ’s Mansion 3is set in a hotel that has trading floor themed on dissimilar genres and they have their own themed ghost to mate . It ’s potential to visit adisco inLuigi ’s Mansion 3,as well as ancient Egyptian tombs and a haunted pirate ship . The expanded scope of the plot has allow for the developers to try out new puzzle designs , some of which can be brute - forced by raring players .
Related : Luigi ’s Mansion 3 Review - Way Better Than Hotel Mario
There can be some frustratingLuigi ’s Mansion 3puzzles , which is why we created this guide to facilitate players solve the trickiest ones in the game .
Boilerworks Walkthrough
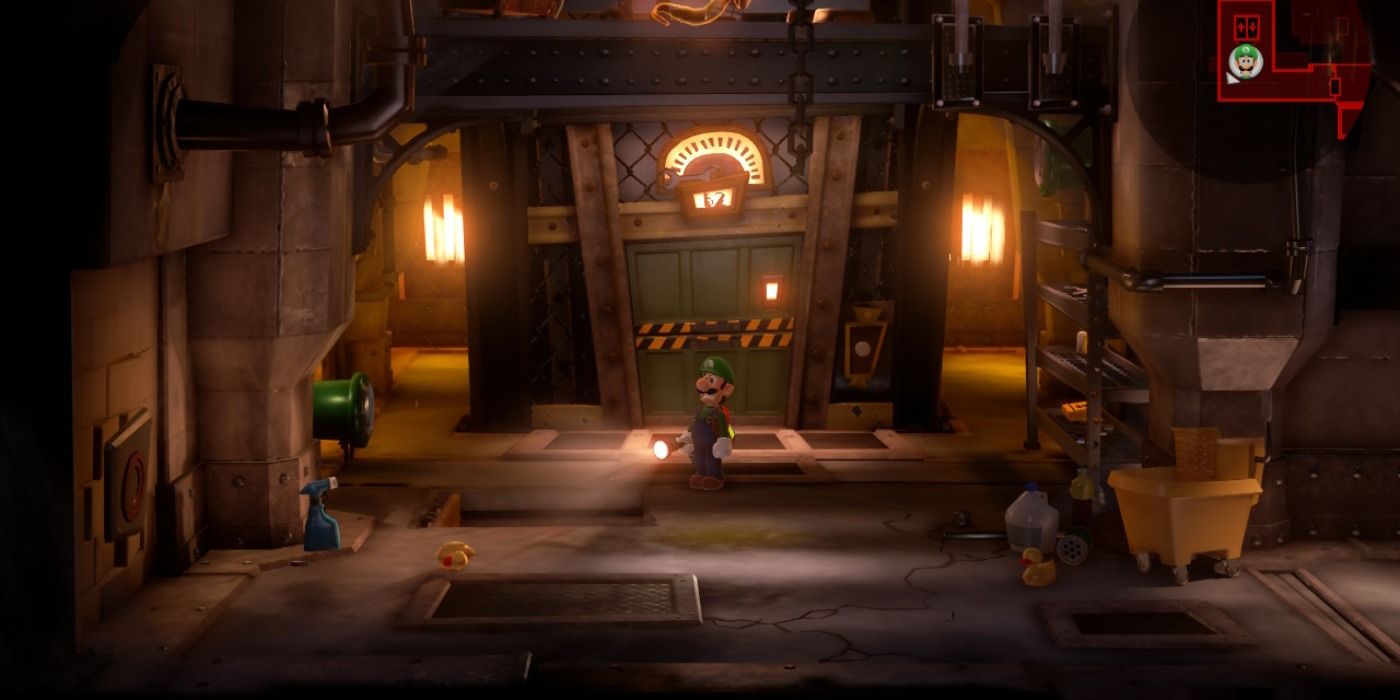
The Boilerworks area is filled with pipes , which means that Gooigi ( Luigi ’s latest ghost - hunting tool ) is vitally important for nail almost every puzzle on the floor . The initial puzzle with seven pee piping require Luigi to turn valves on the top floor while Luigi essay to go around the water underground . Turn the valves so that the last three pipe are retch water , switch to Gooigi and move it to the center , then switch the valves so the first three pipe are spewing water , exit Gooigi free to activate the switch at the end of the tunnel .
The controls for moving Luigi in the gravy holder can be tricky to get over at first , but it ’s important for the participant to see the basics of turning and propelling the gravy holder , as it ’s used in a Bos fight later inLuigi ’s Mansion 3 . Summon Gooigi and have him take the air on the way of life at the top of the sewer and use Luigi in his boat on the bottom to pull the switches as he go along , which will give the course that lets Gooigi proceed . Once the water has been run out , do n’t seek to bypass the wall that ’s nearby ( it ca n’t be done until later in the biz when a toad frog is around ) ; just return to the main expanse and open up the vault door . The burial vault doorway has to be opened by iron out X and not by using the plumber’s helper like the thespian might expect .
The thespian will want to return to the Boilerworks at a late degree inLuigi ’s Mansion 3 for regain a part for the Poltergust and save a toad in the area . The toad frog will allow the player to break through the paries that blocked their progress earlier . There are several striped roadblock on ledge that can only be broken by firing the toad frog at them .
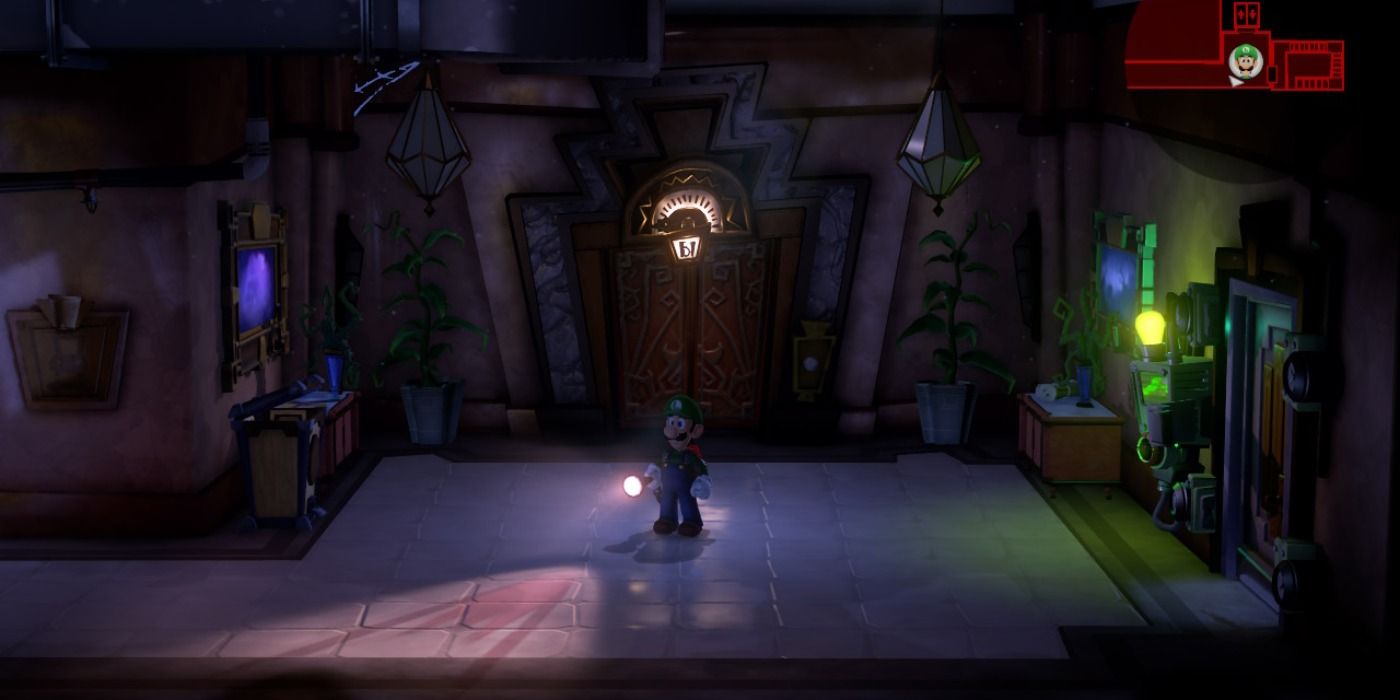
Basement Walkthrough
The Basement is a one-dimensional floor , as it ’s the orbit where Professor E. Gadd keeps his lab . The chief fight against the Steward also takes place on this floor .
Level 1 - Grand Lobby Walkthrough
The Grand Lobby is the orbit in which Luigi and his pals enter the Last Resort Hotel , so there is n’t much in the way of puzzles in this area . It ’s potential to pick up the pumpkins with the Poltergust and fire them at the portraits hanging from the top of the way in decree to break them and cause cash to fall to the solid ground . There are also two switches on the primer coat that can only be accessed when the player acquire Gooigi . Once both type are tolerate on the substitution , it will have the chandelier to settle from the ceiling , which can be spun with both of the Poltergusts so as to drop a jewel .
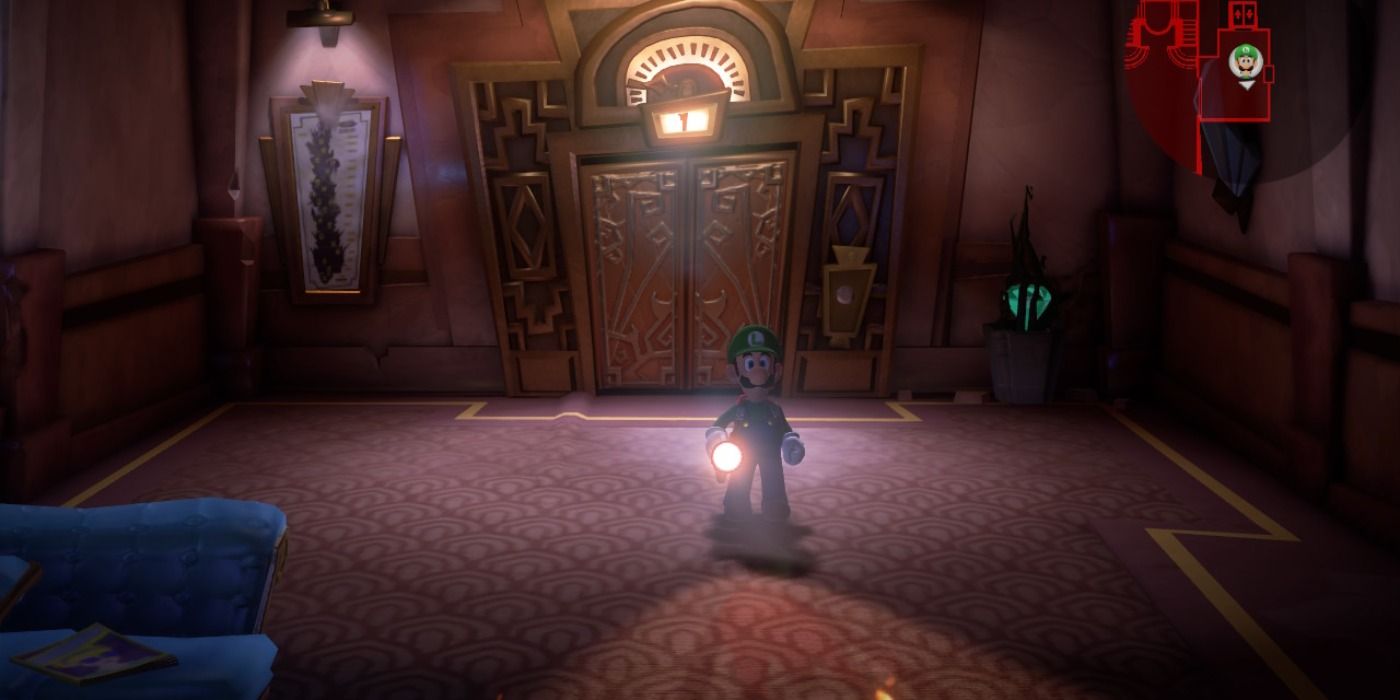
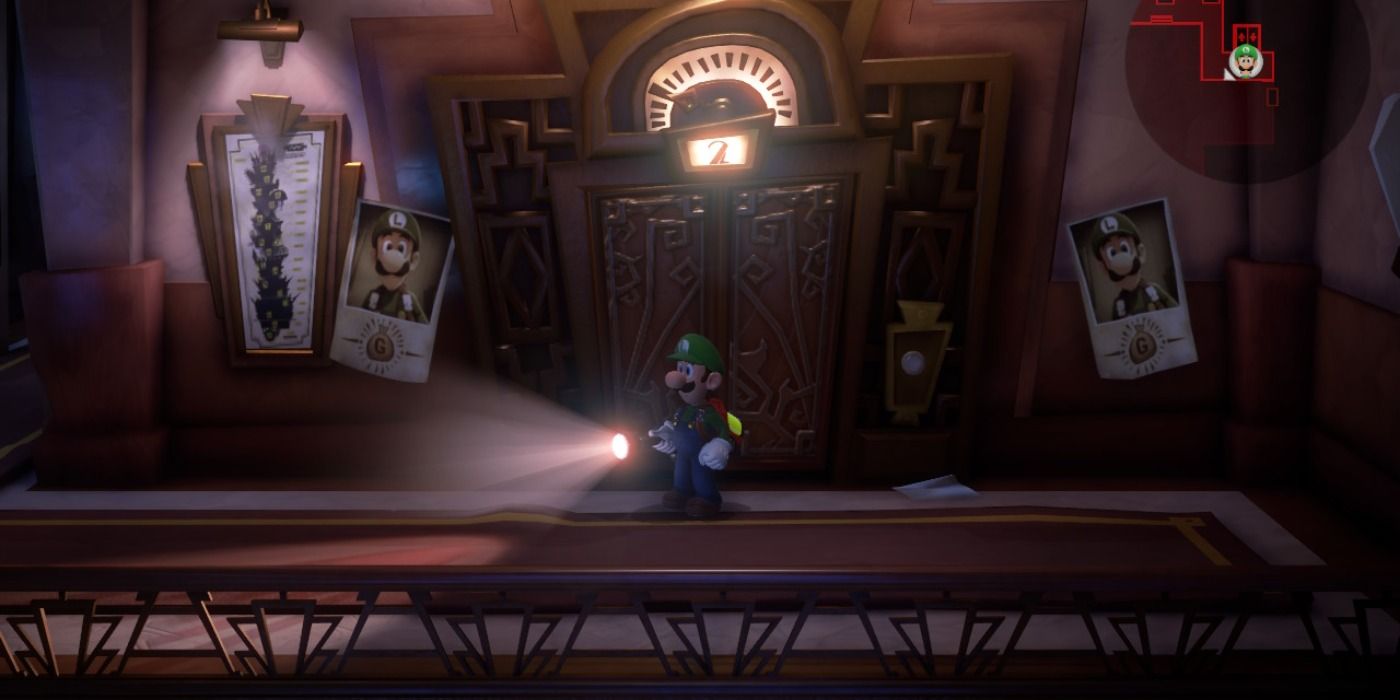
Level 2 - Mezzanine Walkthrough
The most frustrating puzzle in the Mezzanine materialize after defeating the party boss monster . A bum chomps down on the lift push before Luigi can get it , incite a mystifier where he has to lie a trap for the pestiferous gnawer . This puzzle takes place in the Restaurant room and the rat will run into its shiner hole and hide from the player .
so as to get the rat , Luigi demand to put a swelling of cheese in the middle of the floor and back off . Once the rat leaves its hole and seize the high mallow , you have to murder it with a fully - charged bang from the Strobulb . A 2nd stinker will tend out and take hold of the elevator button , leading to a pursuit into the Entertainment Room . A mid - boss conflict will encounter with a gang of ghosts who toss billiards at Luigi . Once these are overcome , Luigi needs to chase the rat into the left Restroom and suck up it up with the Poltergust so as to snap up the lift clitoris .
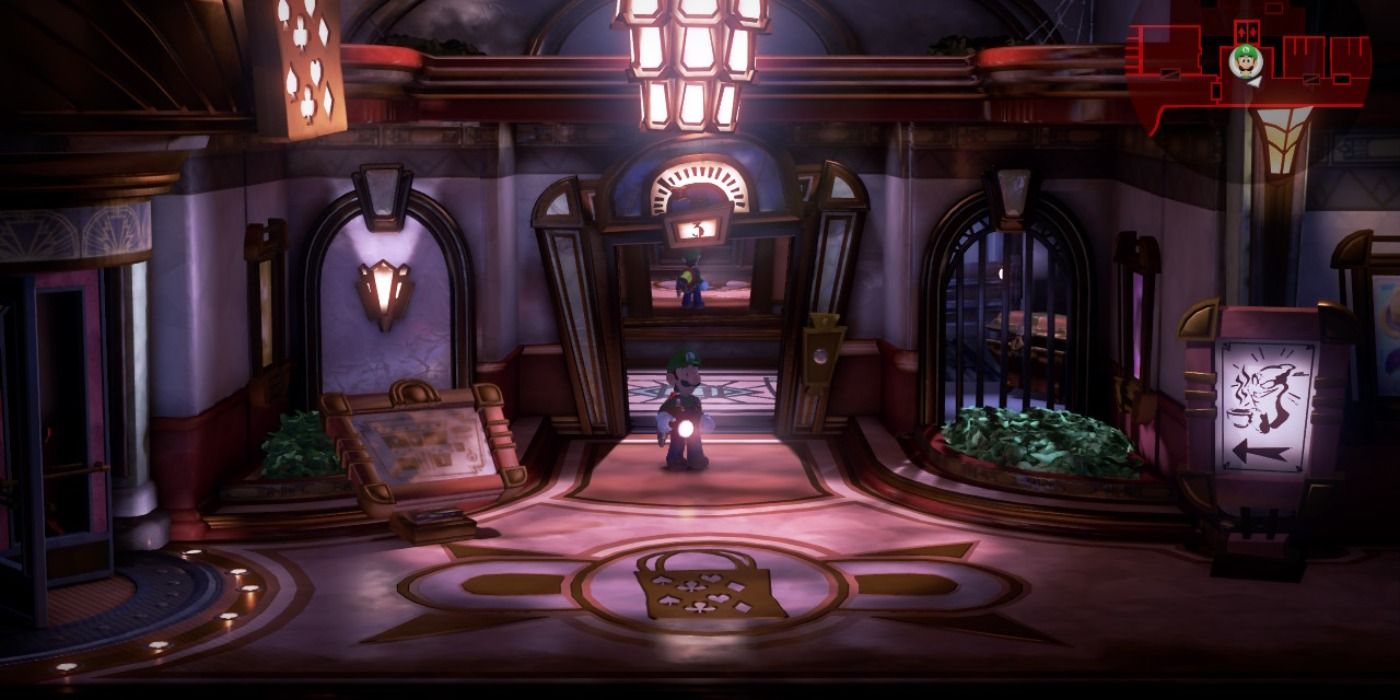
Level 3 - Hotel Shops Walkthrough
The gimmick of this story is that there are four shops in the hotel that have signs based on the four playing lineup suits . Gooigi is demand to enter the shops , as he can communicate through the grate . The various immediate payment registers and doors need to be opened with key free-base on the corresponding circuit card suit of clothes . The immediate payment register in the Spade room is stolen by spectre and Luigi need to use the Dark - Light twist on it to make it reappear , which will start a struggle .
for reach the shutter on the Club shop threshold , both Luigi and Gooigi need to use their Poltegusts on the sign above the door , get the distich of scissors to spin and lift the shutter . The cash register in the Club shop class also needs the Dark - Light gimmick to look .
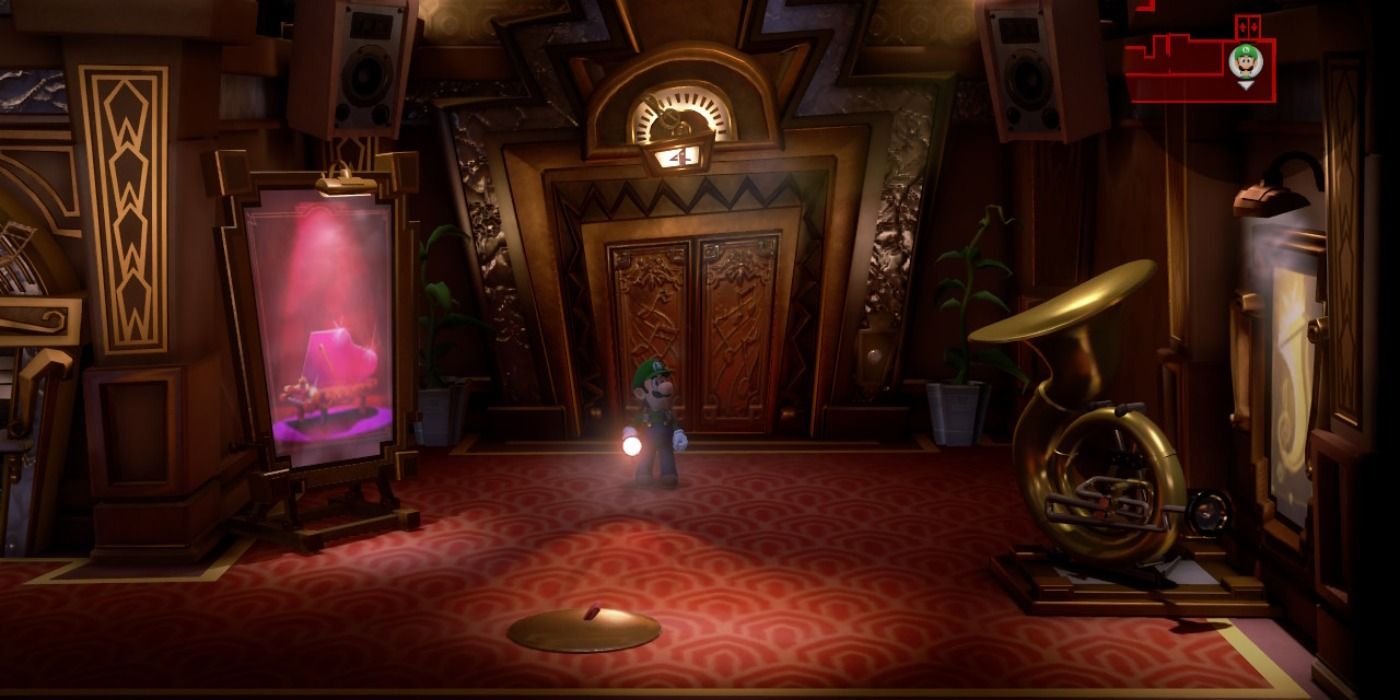
Level 4 - The Great Stage Walkthrough
The Great Stage floor is mostly linear as it playact as a stage for the boss fight against Amadeus Wolfgeist . There is a confidential room access in the bathroom that can be led to a way called the Concession Stand , which has a safe and a series of smoke vials . It ’s tempting to intend that a safe might require the instrumentalist to search for a combining of some kind , but the answer in reality involve the vials . In ordering to start the safe , Luigi take to utilize the Poltergust from left to rightfield on the smoking vial , which will have it to open and dismiss a stone .
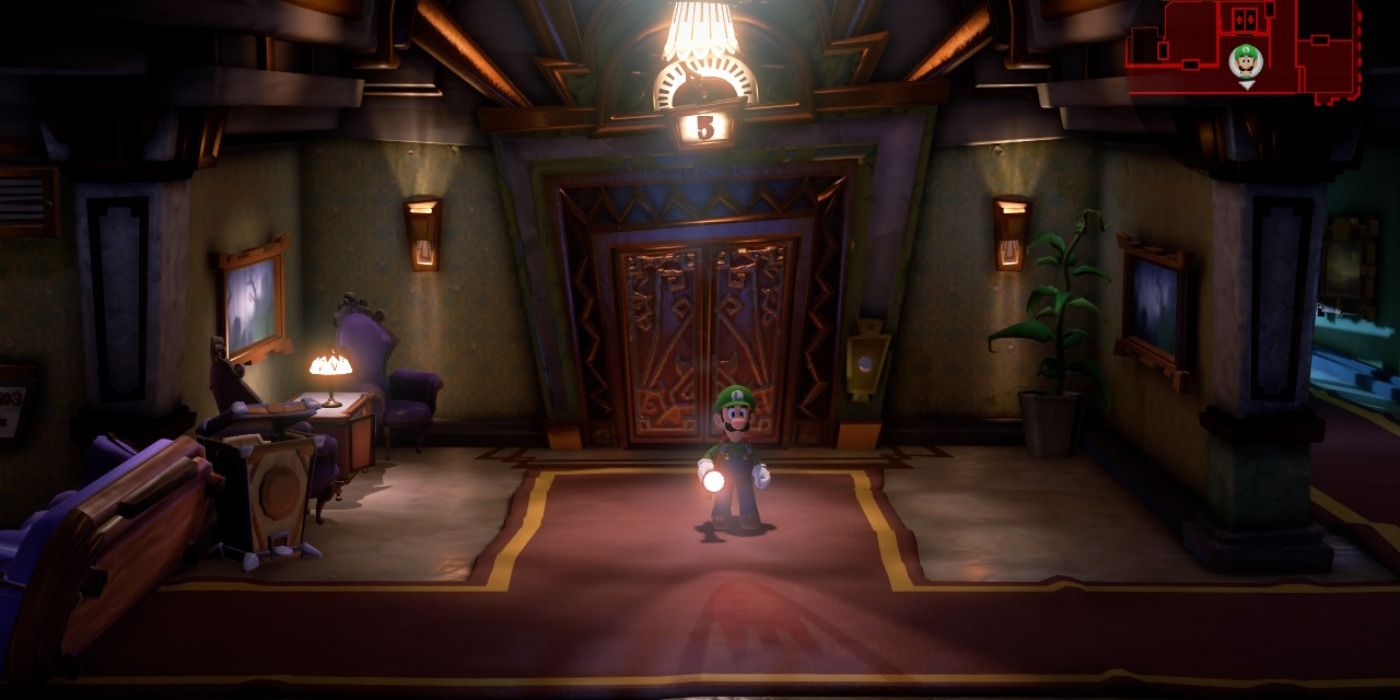
Level 5 - RIP Suites Walkthrough
The RIP Suites flooring is mostly linear as it ’s encountered too soon in the secret plan when the player is still being teach the BASIC of the fighting system . The left side of the leg can not be visited until the player acquires Gooigi , as both characters want to utilise their plunger to remove the mesa that blocks off the corridor . The doors on the left-hand side of the room ask the Dark - Light machine to be opened , as does a secret cabinet in Room 507 that can be discovered after a weather sheet is pulled off the wall using the Poltergust .
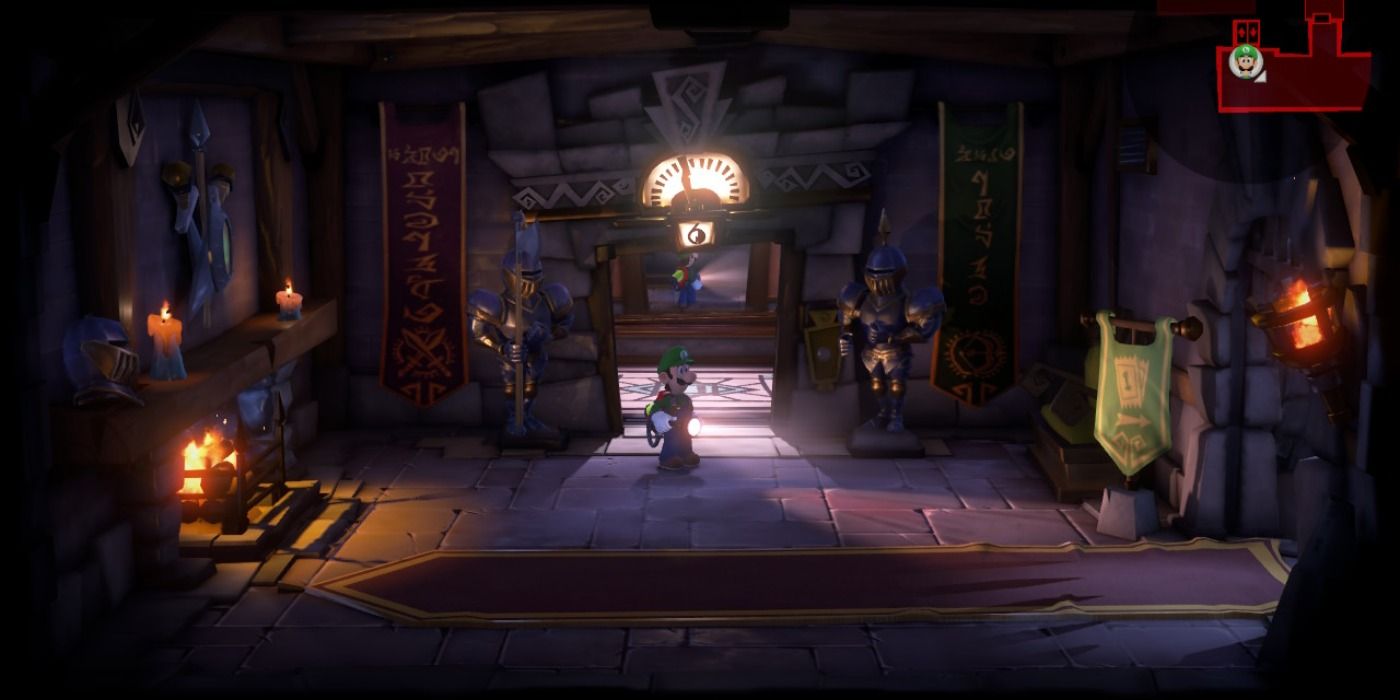
Level 6 - Castle MacFrights Walkthrough
Gooigi is postulate for almost every puzzle on the Castle MacFrights flooring . The reason for this is that the floor is filled with gothic traps , many of which ca n’t harm Gooigi . The crossbow bolts fly through Gooigi and he can take the air through the spikes as if they were nothing . Gooigi is needed to move into the castle gates and pull the lever tumbler , as he can lapse through the bars . The crossbowmen in the Waterwheel Room can be bypassed by Gooigi , allow it to destroy the platform on the other side by deplume the lever .
The Cart Storage Room require two go-cart to go , but there is only one that can be discover . The instrumentalist needs to find the wheel at the far side of the room and use the Dark - Light gimmick on them , stimulate the 2nd cart to appear . The two cart need to be pushed to the eye of the room to complete the mystifier . In decree to cross the wooden bridge in the Bridge room , the histrion need to line up both slice . The odd part of the bridge can be moved more times than the good side ( which gets adhere on the paries ) , which is necessary for lining up the moves necessary to make indisputable the bridges connect in the midriff .
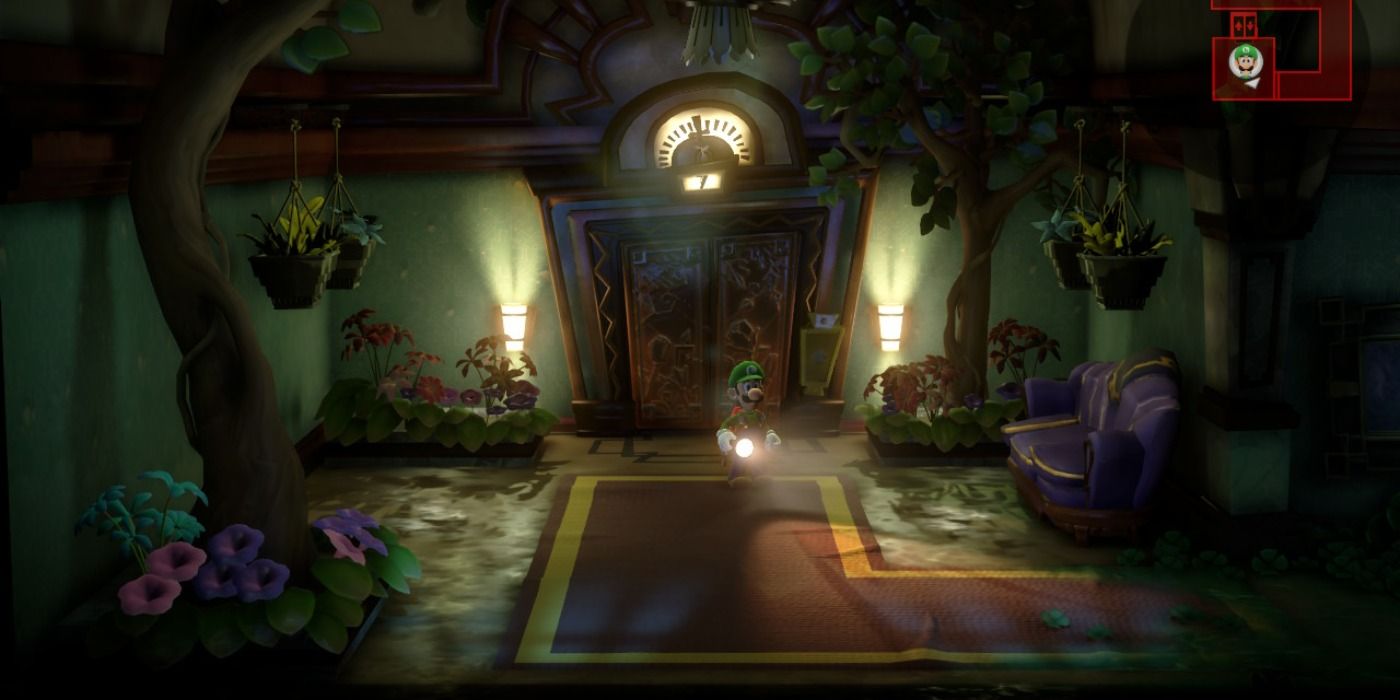
Level 7 - Garden Suites Walkthrough
This is thegarden level that was establish during PAX West . The mid - boss in this phase is immune to the Strobulb at first , as the leaves covering his face are protecting its eyes . Luigi needs to use the Poltergust to pull the leaves off its face , go forth it vulnerable to onslaught .
Gooigi is important for completing this stage , as he is required to dash the giant watermelon that blocks the path to the top . There is a secret grate in the Ivy Bathroom that ask to be discovered using the Dark - Light gadget that will earmark Gooigi to fix the pipe below , which will then leave Luigi to rick on the taps and swamp the sump . Gooigi is also needed to put down the immense Urania flytrap on top of the industrial plant , as both fiber need to habituate their piston on either side of the industrial plant and pull at the same time , head to the boss conflict against Dr. Potter .
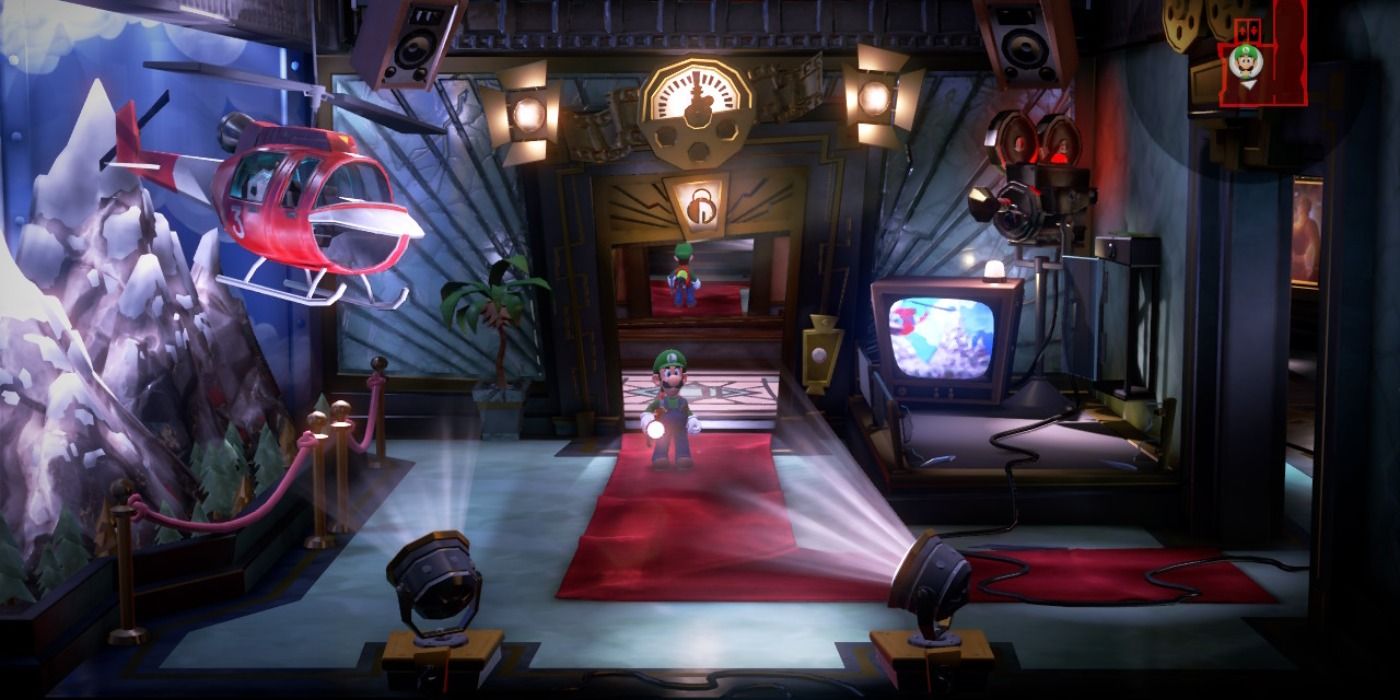
Level 8 - Paranormal Productions Walkthrough
The chief puzzle in Paranormal Productions involves transfer items in - between four different movie curing : the Castle Set , the Fire Set , the Horror Set , and the Micro Set . Go to each of these sets and activate the TVs using the Strobulb , as these can be used to visit the central studio by fast - travel through the TVs themselves . The four set have video recording cameras set up that show the stage in a different way , such as the Fire Set front like a bunch of composition board houses when watch through veritable eyes , but bet like a burning neighborhood when seen through the photographic camera . If Luigi is front through the camera , then Gooigi will be the one in ascendency .
In club to lick the puzzle on this floor , the player will take to grab the bucket from the Backstage room and utilise the video to travel to the Horror Set . Drop the bucket in the well , face through the camera and have Gooigi interact with the well . This will cause a colossus little girl to erupt from the well have a bucket full of piddle . seize the bucketful and switch back to Luigi , who can take it to the Castle Set . Pour the water on the plant to do it to grow ( while fighting off enemy ) , which will create a path conduct to an unilluminated woolly mullein .
Take the torch to the Fire Set and look through the photographic camera , then have Gooigi light up the torch on the burning construction . journey to the Micro Set with the burning woolly mullein and look through the tv camera . Gooigi can utilise his plunger to launch the box , make a huge ( but harmless ) spider to derail out . Use the torch to burn both the wanderer and its web , get the red megaphone to drop to the priming . Take the cherry-red megaphone to the theater director in the Backstage country to build up to the knob conflict .
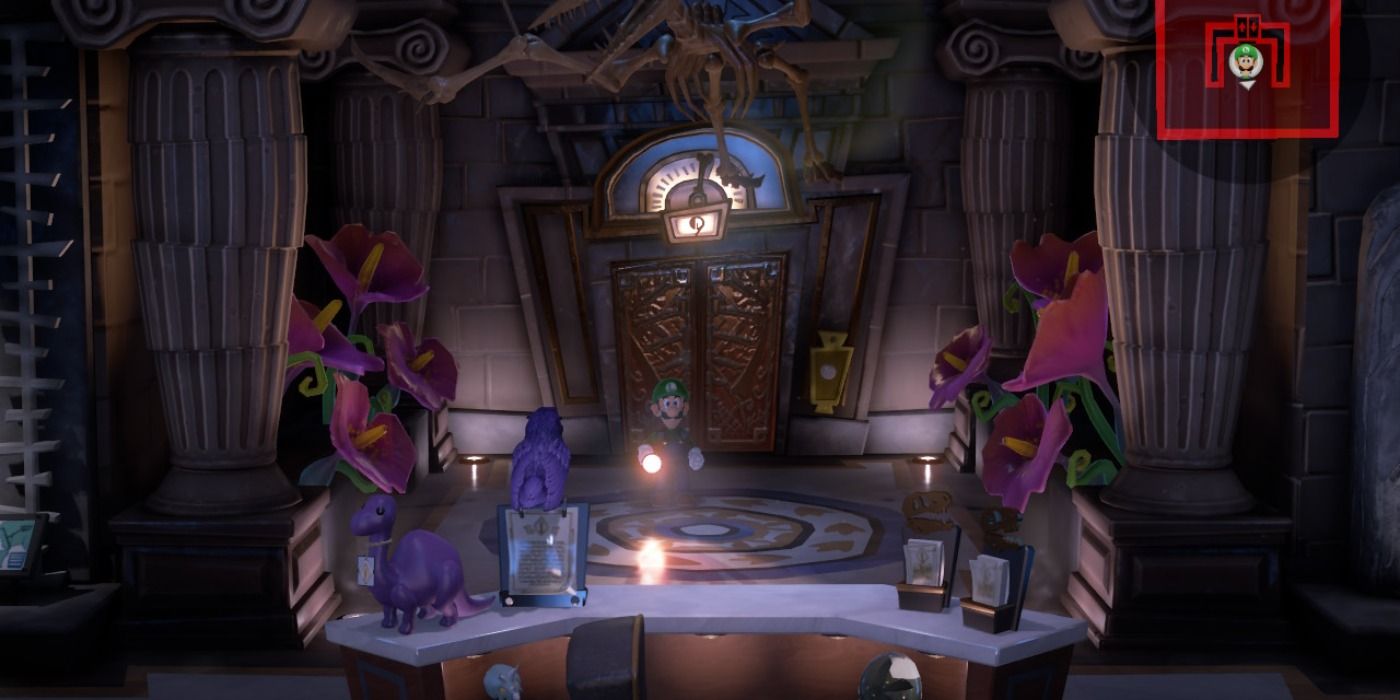
Level 9 - Unnatural History Museum Walkthrough
The Unnatural History Museum is a straightforward genus Bos floor . If the player render to the boss arena after it ’s defeated , there will be several treat picture situated around the room . One of these painting contains Boones - the secret Boo of the floor . Approach each house painting and use the Poltergust on whichever one has the strongest chemical reaction from the HD Rumble in the controller .
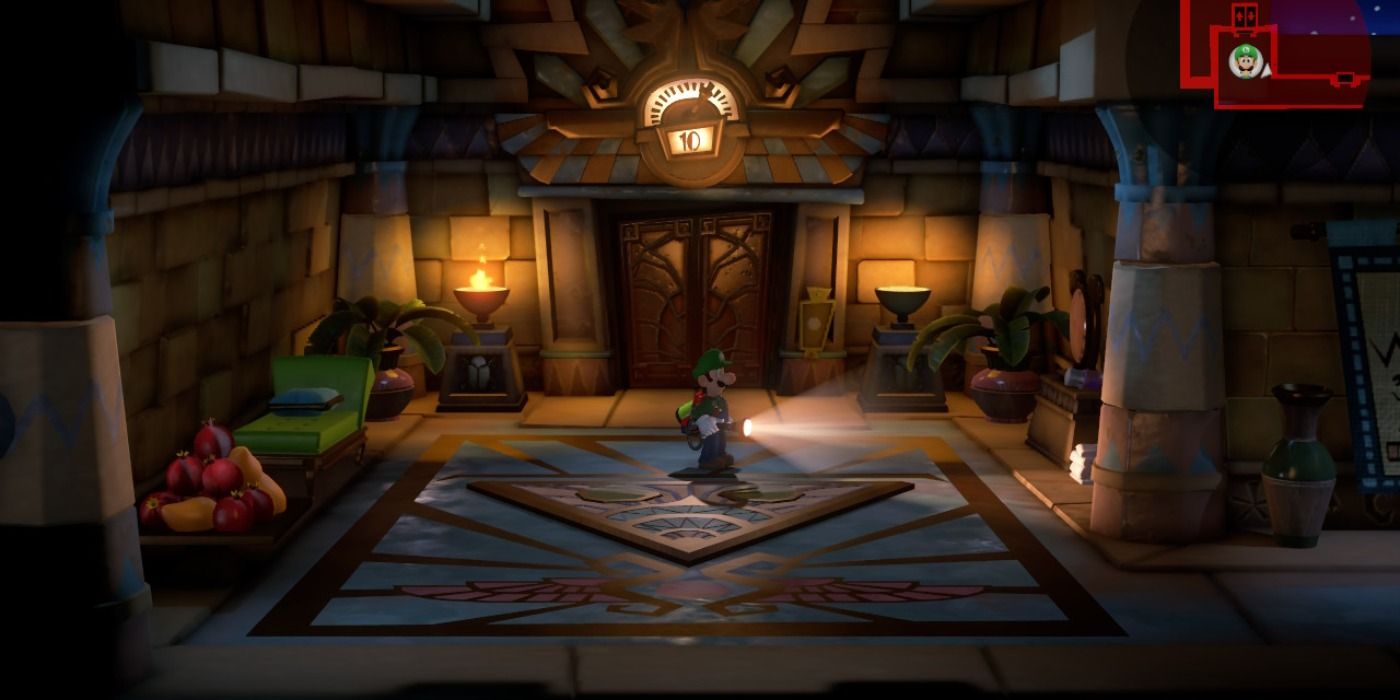
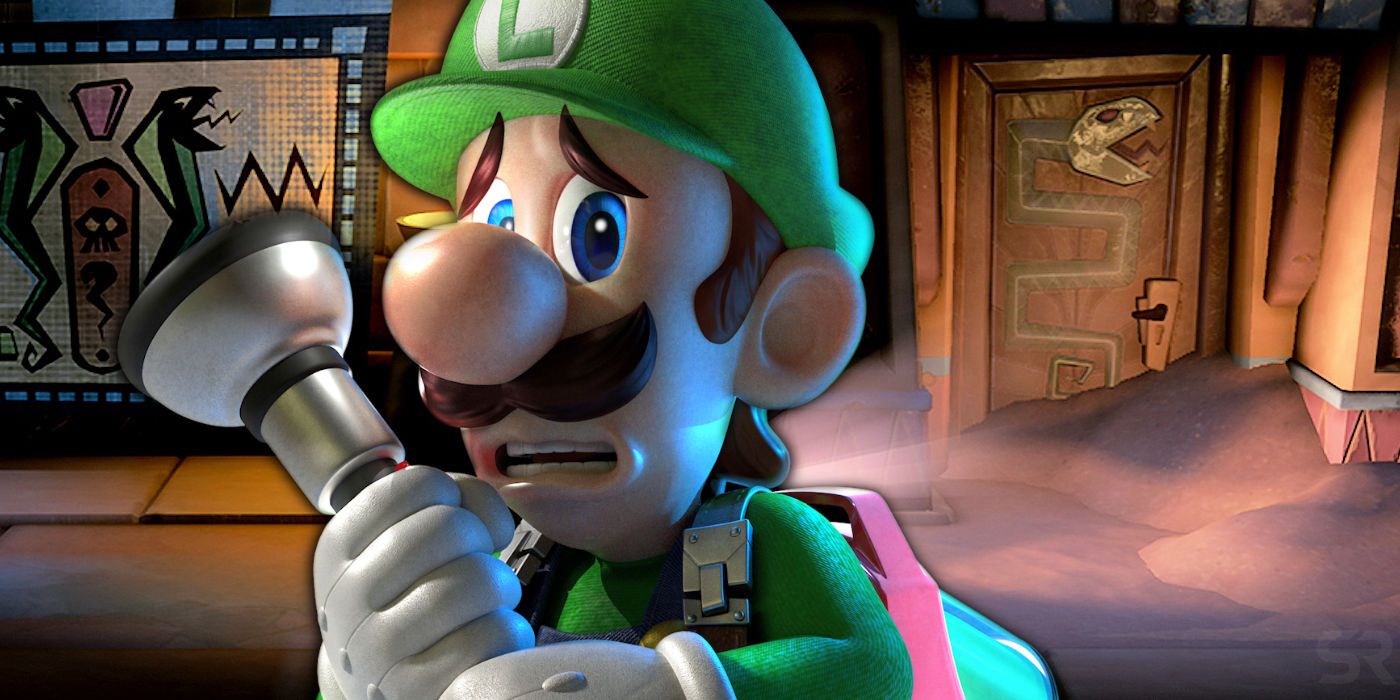
Level 10 - Tomb Suites Walkthrough
Tomb Suites has the deadliest puzzler inLuigi ’s Mansion 3 , as some of them involve inst deaths if the player can not solve them in time . The role player should stock up on Golden os before essay this level . When Luigi enters the synagogue and start the sarcophagus , he will fall into a sandpit trap . Use the Poltegust to suck up the sand and reach the bottom of the nether region , where a lever tumbler can be observe that open a window . Wait for the sand to start building up again and habituate the blow function of the Poltergust to create a ramp leading up to the windowpane .
The Snake Chamber requires Luigi to create Allium tricoccum of sand to reach a lever . Once he does this , a chemical group of snake statues that ardor laser out of their center will appear and start snipe the structures that are hold up the roof . Use the Poltergust to create ramps leading up to the Snake River statue and utilize the Stomp move to break them . If the player does n’t do this quickly enough , then the cap will pass and kill Luigi .
The Scale Chamber is all about matching the weight of the ordered series to the right creature icon on the lever tumbler . Luigi involve to clean up the weighted statue around the room and invest them on the scale , then expend the Strobulb to actuate the mechanism to see if the weight is correct . Luigi ’s weight is also taken into retainer if he is standing on the scale when the Strobulb is used , so try transfer a statue and putting Luigi on the scale if the weight is somewhat over the correct icon .
The Jewel Chamber rapidly fill up with venomous gas that will debilitate Luigi ’s wellness , but it ’s the least - deadly of the rooms on this trading floor . Just apply the Poltergust to suck up the sand in the elbow room , revealing jewels of different shapes that jibe the hollow in the wall . Fire the correct precious stone into the pickle and Luigi will be save .
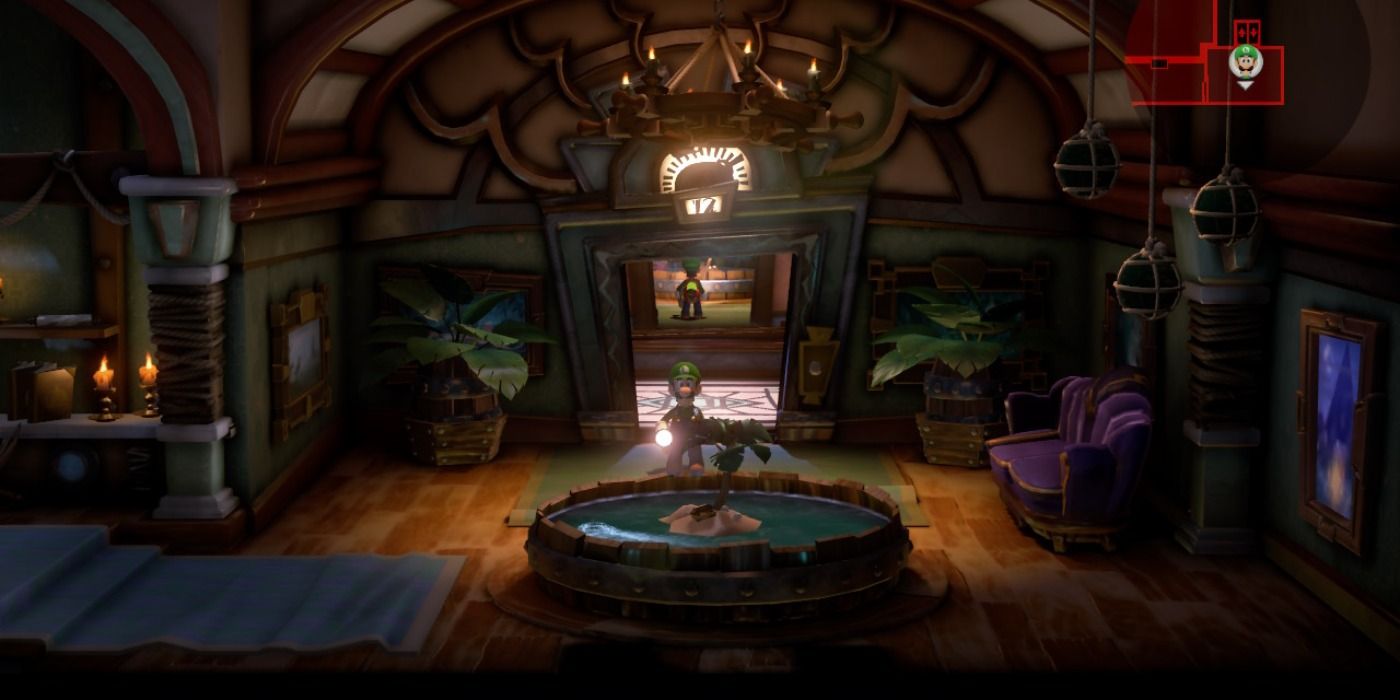
Level 11 - Twisted Suites Walkthrough
Twisted Suites is a floor that is about messing with the player ’s percept . The Inverted Bedroom is flipped upside down , but the result is mere than it looks . Just use the Strobulb on the chemical mechanism on the side of the room to move the layer and use the Dark - Light gimmick on the outer space left behind to create a doorway .
The key that can be found in the Trainer ’s chamber will be grab by a golden rabbit . The player will demand to cite Gooigi to defeat it . One character call for to use the Poltergust to throw the hare in place , while the other needs to expend the Dark - Light gimmick to destroy it .
Level 12 - The Spectral Catch Walkthrough
The Spectral Catch floor is mostly analog , as it ’s all about build up to the Captain Fishhook boss fight on the pirate ship .
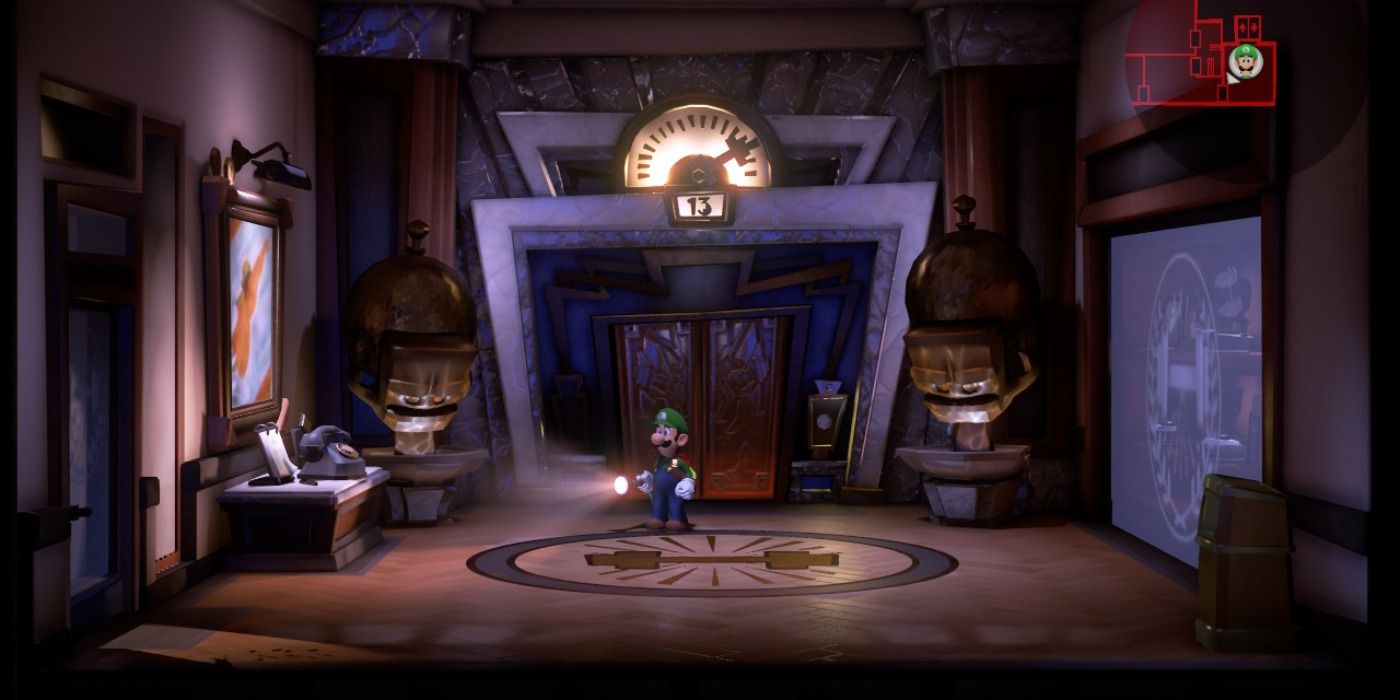
Level 13 - Fitness Center Walkthrough
The Fitness Center has two peculiarly irritating mid - bosses that can be tricky to fight , as Luigi needs to turn their weapons against each other . The ghost holding the dumbbells will throw them into the centre of attention of the room , so the participant has to lure the boxer specter into the path of the booby , give it vulnerable to being hit with the Strobulb and the Poltergust . Once the boxer is defeated , Luigi can grab its gloves with the Poltergust and can it at the other trace .
The key fruit that is ask to launch the Training Room is hidden in one of the utilisation bikes . Luigi needs to use the Poltergust to spin its wheels , which will eventually cause the keystone to appear . The puzzle in the Yoga Room can be annoying at first , as it ’s not evident that the mirror on the wall can be moved to show more parts of the back wall . The yoga MAT need to be rolled or unrolled in such a way as to match the posters on the bulwark . The top wrangle from left to right hand should be rolled , unrolled , unrolled , while the bottom row from left to right should be unrolled , unrolled , roll .
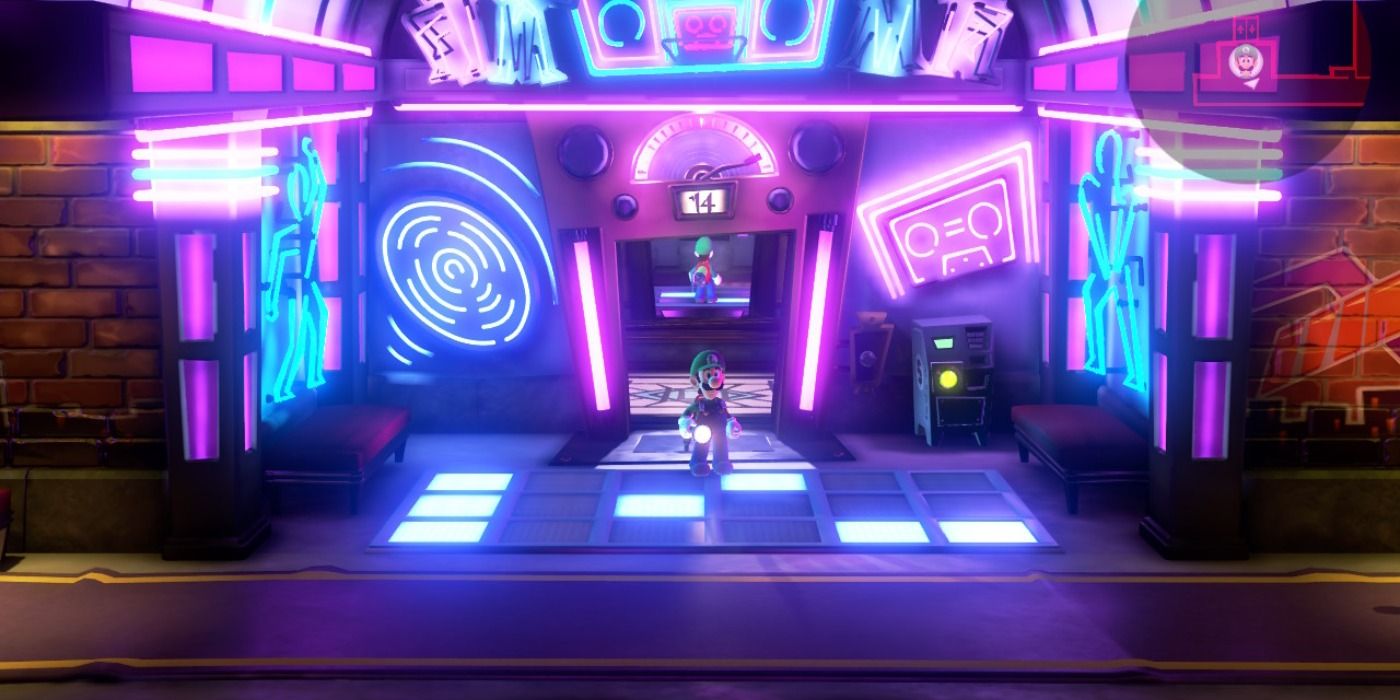
Level 14 - The Dance Hall Walkthrough
The Dance Hall is a knob base that mostly dwell of areas leading up to the Dance Floor , where the conflict against DJ Phantasmagloria and her dancers take space .
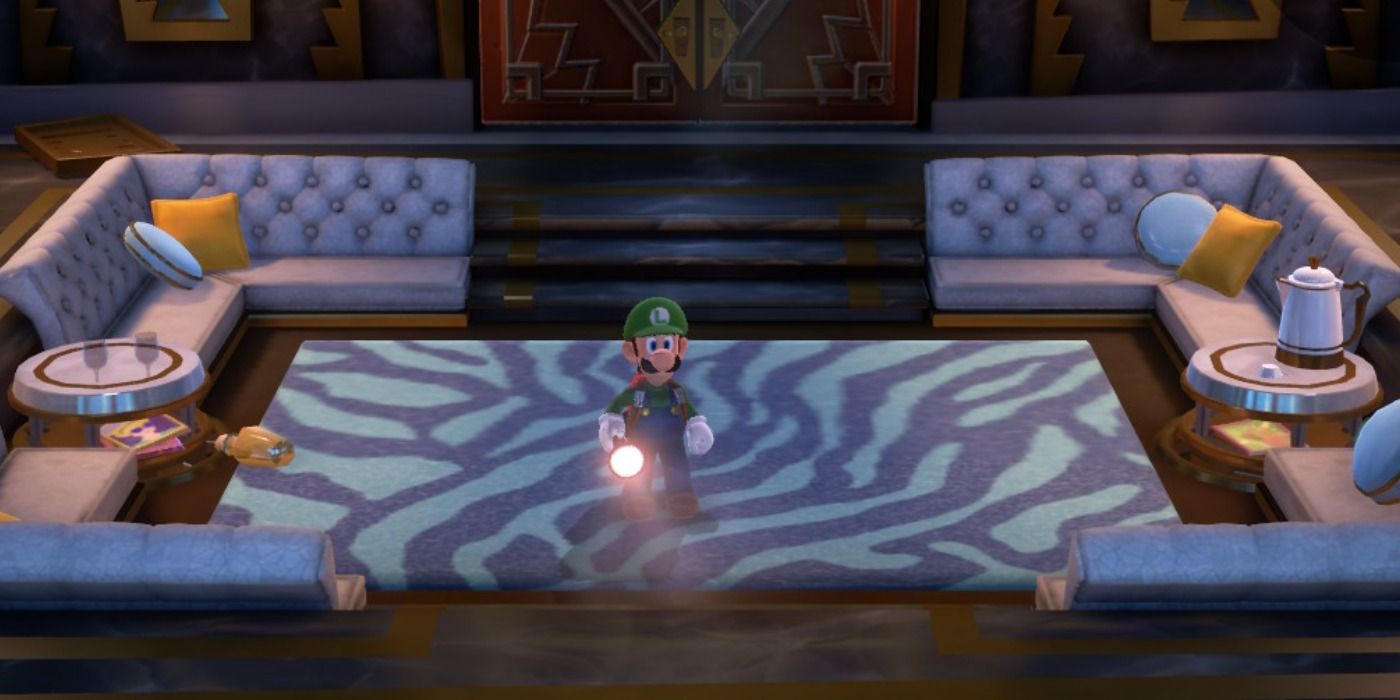
Level 15 - Master Suite Walkthrough
The main teaser of the Master Suite involves visiting four rooms and complete canonical puzzles in society to gain ground four keys , which are used to start the door to the boss chamber . This floor chiefly exists as a gateway to the final two gaffer battles in the secret plan , so there are n’t many puzzle that demand to be solved .
Next : Luigi ’s Mansion 3 – Where To Find The privy Boos
Luigi ’s Mansion 3is uncommitted now for Nintendo Switch .